


How to Keep the Tiles on Ceramic Tile Display Racks Without Slipping Off?
Introduction
What’s the most important part of your business? Is it the building itself? Your inventory? Your employees? The answer is none of those: it’s your products. If you can’t sell them, then everything else will fall apart. That’s why displaying your products properly is so vital to success. The best way to do this is with ceramic tile display racks; they’re sturdy, durable and come in a variety of shapes and sizes.
Even better, they’re inexpensive! You can find any styles you need here, or put forward your needs and I will give you suggestions!
Step 1: start with a clean slate
The first step to keep the tiles on ceramic tile display racks without slipping off is to start with a clean slate. This means you need to clean the surface before applying the tile display strips. For example, if you are using a wood surface, you can use a wood cleaner or if you are using a metal surface, use a metal cleaner.
Step 2: lay down your tile display strips
The second step is to lay down the tile display strips. Before you do this, make sure that the strips are straight and level with each other. If they’re not, you can use a level to check for straightness. Make sure that all of your tiles are laying flat on their edges without any bumps or bulges in between them.
Step 3: load the tiles
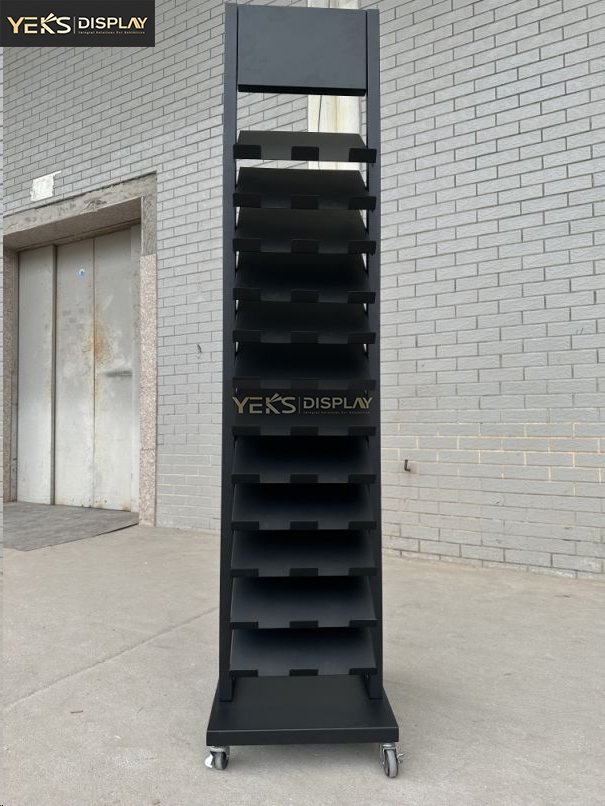
To keep your tiles from slipping off of the display racks, you can use a ceramic tile display racks. A tile rack will help to keep your tiles from slipping off, but only if it is weighted properly. You may want to weigh down the entire tile rack with some kind of heavy object such as rocks or weights. If you do not want to do this, then you should use two smaller displays that are connected together in order for them not to tip over easily.
You can also use clamps on each side of the display rack so it is held firmly in place on top of another surface such as a table or shelf space where there is nowhere else available within close proximity without having any safety concerns regarding falling objects hitting someone (or something) below while they’re walking around inside houses/apartments/office buildings etcetera!
Step 4: adding a little extra adhesion for the big pieces
You’re almost done! Now, we need to add a little extra adhesion for the big pieces.
You can use a glue gun or another similar adhesive to secure the bigger tiles in place. Be sure to go with a light touch when adding glue, as you don’t want to end up with too much on your tile and have it pooling over the edges. Just make sure that you don’t put so much glue on your ceramic tile display rack that it starts running down the sides—that will make it look messy and hard for customers who are browsing at your store or gallery shop!
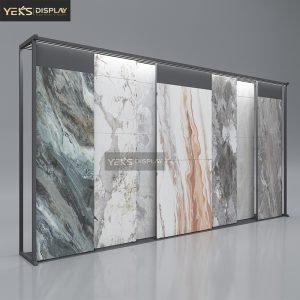
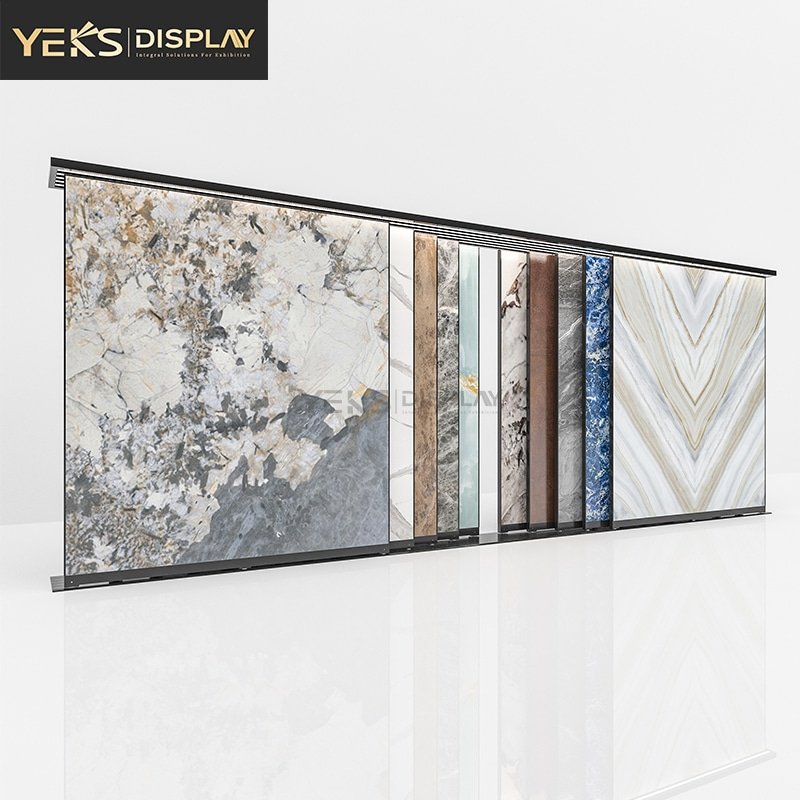
Ceramic tile display racks are one of the most affordable and versatile ways to show off your inventory. They’re easy to set up and remove, so you can easily switch out your product lineup as needed. You can use them to display a variety of items.
Conclusion
With a little bit of preparation and care, your ceramic tile display racks can be a great way to showcase your inventory. By keeping them clean, applying strips of tape where necessary and loading the tiles strategically, you’ll be able to keep them from slipping off easily.